Introduction
In this tutorial, I will cover how to configure Truenas-core 13.0 using Proxmox 8.1.3, including the utilization of external HD as data storage.
installation:
Download the latest ISO version of TrueNas-core from here.
You can directly insert the link of the ISO file on PVE by navigating to “Disk” > “ISO Images” > “Download From URL” > “Enter URL” and then click “Query URL”.
In the right-top corner click create a new VM and use these settings:
GENERAL:

1) Set the node where the VM will run

2) Enter the VM ID

3) Enter the VM name

OS:

1) Select the Storage where the ISO is located

2) Select the downloaded iso image

3) Type OS: Linux

System:

1) SCSI contoller: Virtl0 SCSI

2) Leave the other options as default

Disks:

1) Set the Disk Size to at least 16GB for the OS

2) Leave the other options as default

Memory:

1) Set at least 8gb of RAM

CPU:

1) Socket 1 and 2 cores

2) Leave the other options as default

Network:

1) This depends on your Network configuration.

2) Consider passing the Virtual Interface without VLAN tag as you will configure VLAN on TrueNas

Confirm:

1) Remove the "Start after creation" flag
Passthrough Physical Disk to Truenas VM
In this example, we want to pass through these disks:
2TB HDD WDG serialnuberXXX
2TB HDD WDG serialnumberYYY
2TB HDD ST serialnumberZZZ
If the inserted disks are new, wipe the disk and create the GPT table directly from PVE. In my case, it shows the ZFS partition because I am already using it. Normally, you wouldn’t see any partitions.

In general, the best option is to purchase a RAID controller card and pass the entire PCI to the VM. However, in this case, I will cover the configuration for passing individual disks to Truenas.
Navigate to the proxmox shell and run this command:
copy and note the id of the disks
ls -l /dev/disk/by-id
Command to Run: (note that scsi number changes)
qm set [VM_ID] -scsi1 /dev/disk/by-id/[FULL_ID_OF_DISK]

qm set [VM_ID] -scsi2 /dev/disk/by-id/[FULL_ID_OF_DISK]

qm set [VM_ID] -scsi3 /dev/disk/by-id/[FULL_ID_OF_DISK]
Example of the command:
qm set 114 -scsi1 /dev/disk/by-id/ata-WDC_WD20EFAX-68B2RN1_WD-WXW2AB23AJNL
After you have done this make sure of your configuration by running:
cat /etc/pve/qemu-server/[VM_ID].conf
Now you can start your VM and ensure that all disks are being read correctly.
EXTERNAL HDD-ENCLOSURE VIA USB-C

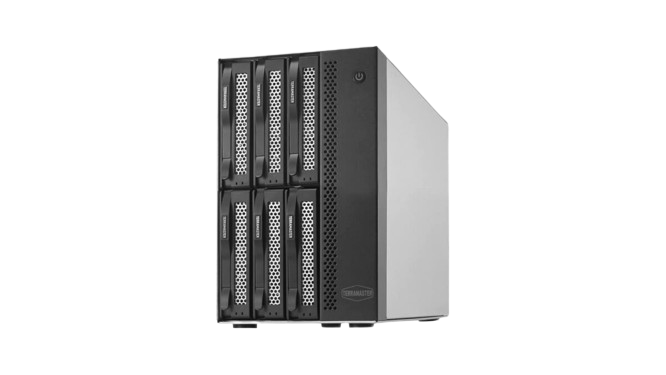
If you are running a home-lab setup like I do and you are using SFF desktop PC, you can use this specific type of HD enclosure to create your NAS and pass the disks using the above command. However, it’s not recommended to use USB, but in my case it works correctly. Therefore, if you have the option, opt for a direct connection to the motherboard via SATA/PCI.
