Introduction
In this tutorial, I will cover how to configure an OPNsense VM on Proxmox with VLANs, connected to a Layer 3 switch. This setup is ideal for managing network segmentation and enhancing security within your virtual environment.
Prerequisites
- Proxmox VE installed
- OPNsense VM running
- A physical Layer 3 switch
- Basic knowledge of network configuration
Step 1: Install and Configure Open vSwitch on Proxmox
First, install the Open vSwitch package on your Proxmox server:
apt update
apt install openvswitch-switch
Configure Physical Interfaces
Proxmox node physical interfaces setup:
enp2s0areenp3s0are my physical interfaceenp3s0is my WAN so I simply created a Linux Bridge pointing to this interfaceenp2s0is my LAN so I created a OVS bridge interface pointing to this interfacev10,v20,v30,v40for the vlans I created OVS IntPort pointing to vmbr1

Step 2: Assign Interfaces in OPNsense
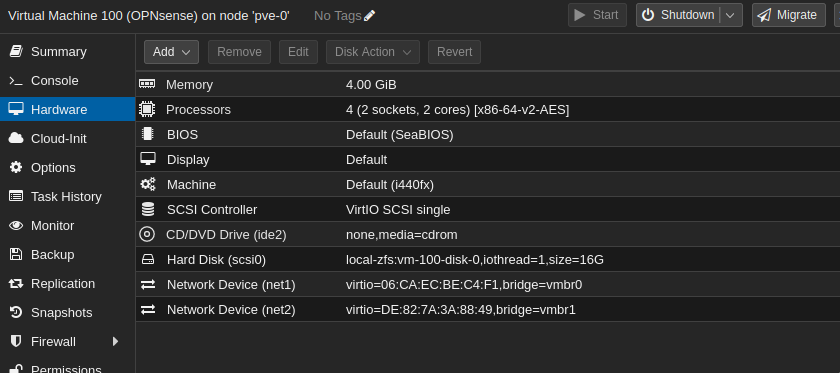
Once OPNsense is installed on a VM, assign the 2 interfaces.

Step 3: Configure OPNsense with VLANs
Setup VLANs in OPNsense
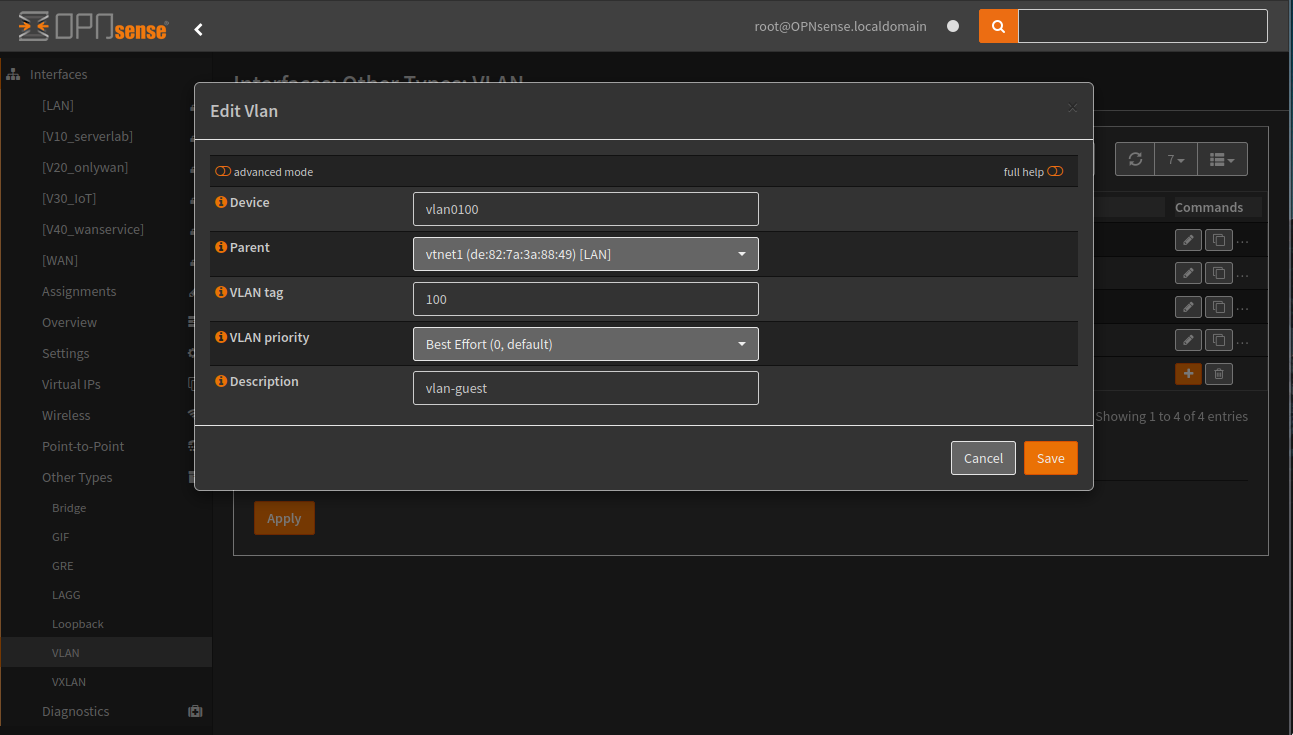
In the OPNsense web interface, navigate to Interfaces > Other Types > VLAN:
- Add VLANs by specifying the VLAN tag and corresponding interface.

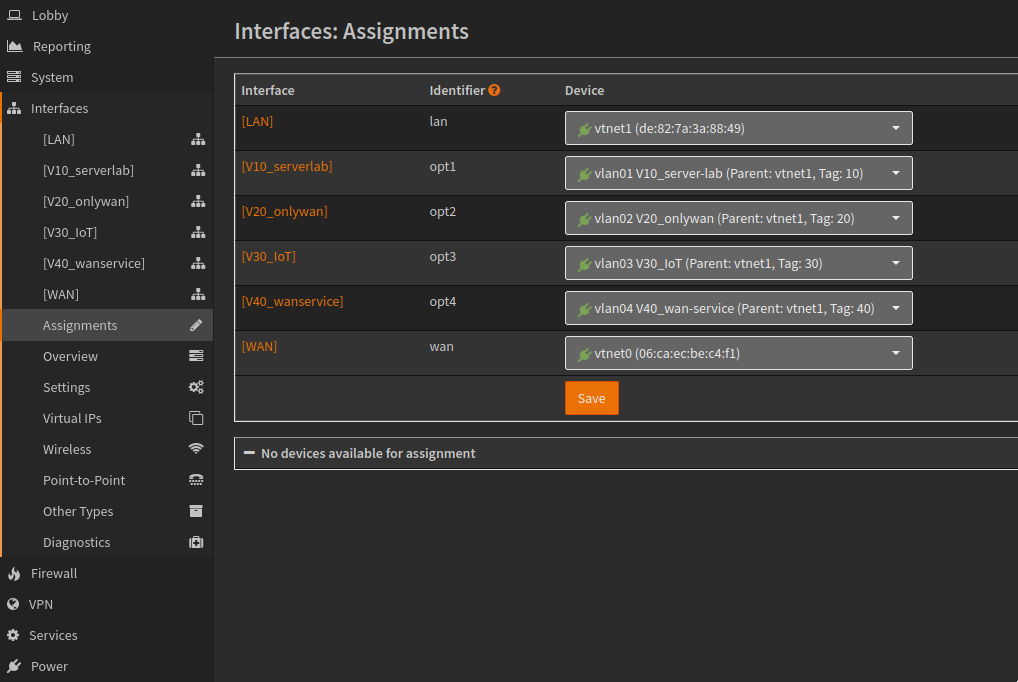
then go to assignment and add the interface you created

Configure DHCP and Firewall Rules
Set up DHCP servers for each VLAN to manage IP leasing and configure firewall rules to ensure secure traffic flow between VLANs.

Step 4: Connect and Configure the Layer 3 Switch
Trunk Configuration
- Configure the uplink port to the Proxmox server as a trunk port, allowing all VLANs.
Access Ports Setup
- Set other ports as access ports, assigning them to specific VLANs as per your network design.
Conclusion
By following these steps, you can successfully configure VLANs on an OPNsense VM running on Proxmox, utilizing a physical Layer 3 switch to manage and route traffic efficiently. This setup is essential for maintaining a secure, segmented network in a virtualized environment.
